Week Three ORC: Fall 2020
We are at the halfway point of the One Room Challenge and I’m ready for a vacation. (To see previous weeks, click below)
Okay, I was a ready for a vacation prior to the start of this. But now I’m extra ready.

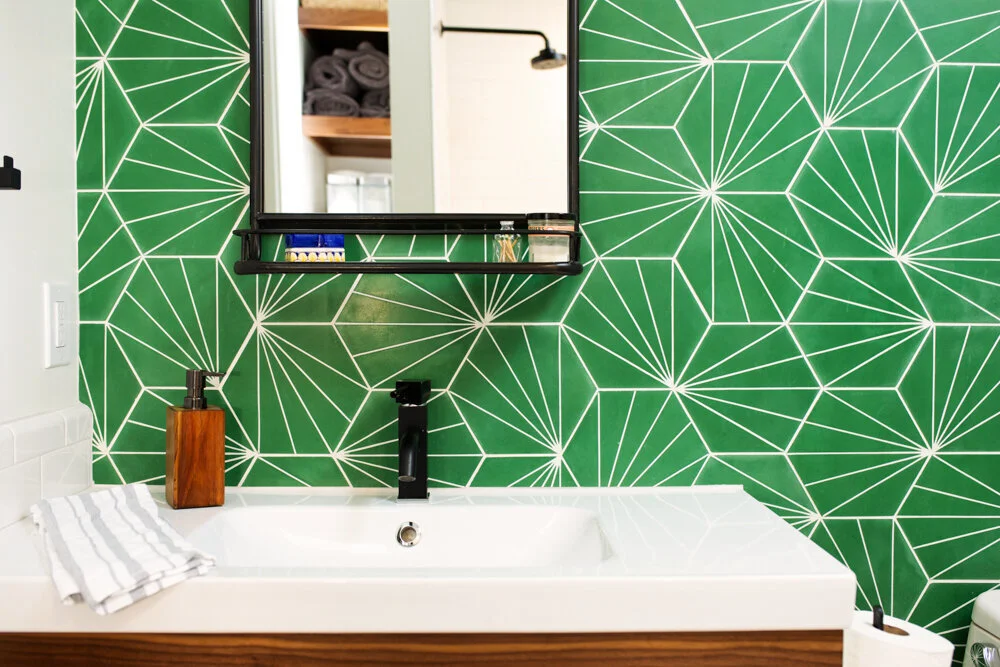
My husband is as well. He’s making a dent on this bottle. But really I wanted you to see a close up of the new tile.
The crazy part thing is, that it’s going to be way busier the last few weeks because we’ve done almost everything we can do until our windows go in on Nov 2/3rd. Then it’s going to be a race to finish everything in time for the end of the challenge.
Not to be all cynical, but I honestly don’t know if we’ll make it for the initial “reveal” date of Nov 12th. (but technically we have an extra grace week, but my husband doesn’t know that and he doesn’t read my blog, so don’t tell him!)
So! What we’ve been doing in the past week!
The husband has been hard at work doing the tile backsplash in the kitchen.
All of you who think he’s just the best husband ever to do all my dirty work….not only does he get paid in sex as I mentioned last week, but the real reason he’s been working so hard is so he can go on a climbing trip this weekend with his friends.
Sex as payment was a distant 2nd place prize when compared to a climbing trip. So, don’t you be feeling bad for him.

We’ve done as much tile as we can do until the window on the right side of the wall is removed and drywalled over.
We’ve come across a little snag in this tile job as the ceilings in our 100 year old house are extremely out of line….to the tune of 3/4” unlevel in only a span of 5 feet of ceiling. We’re going to have to get creative how we address the top 6” of space for tile.
But creativity is the name of the game around here. Sadly, I might have to do dark grout instead of light grout like I was planning. The white will only high light all of the level issues…we shall see!

I’ve started the painting process for the cabinets. Stay tuned for a cabinet painting tutorial.
I hate hate hate the sanding and prep process. I managed a crystal glass finish on the table I painted for the spring ORC, so fingers crossed I can do the same for the cabinets.

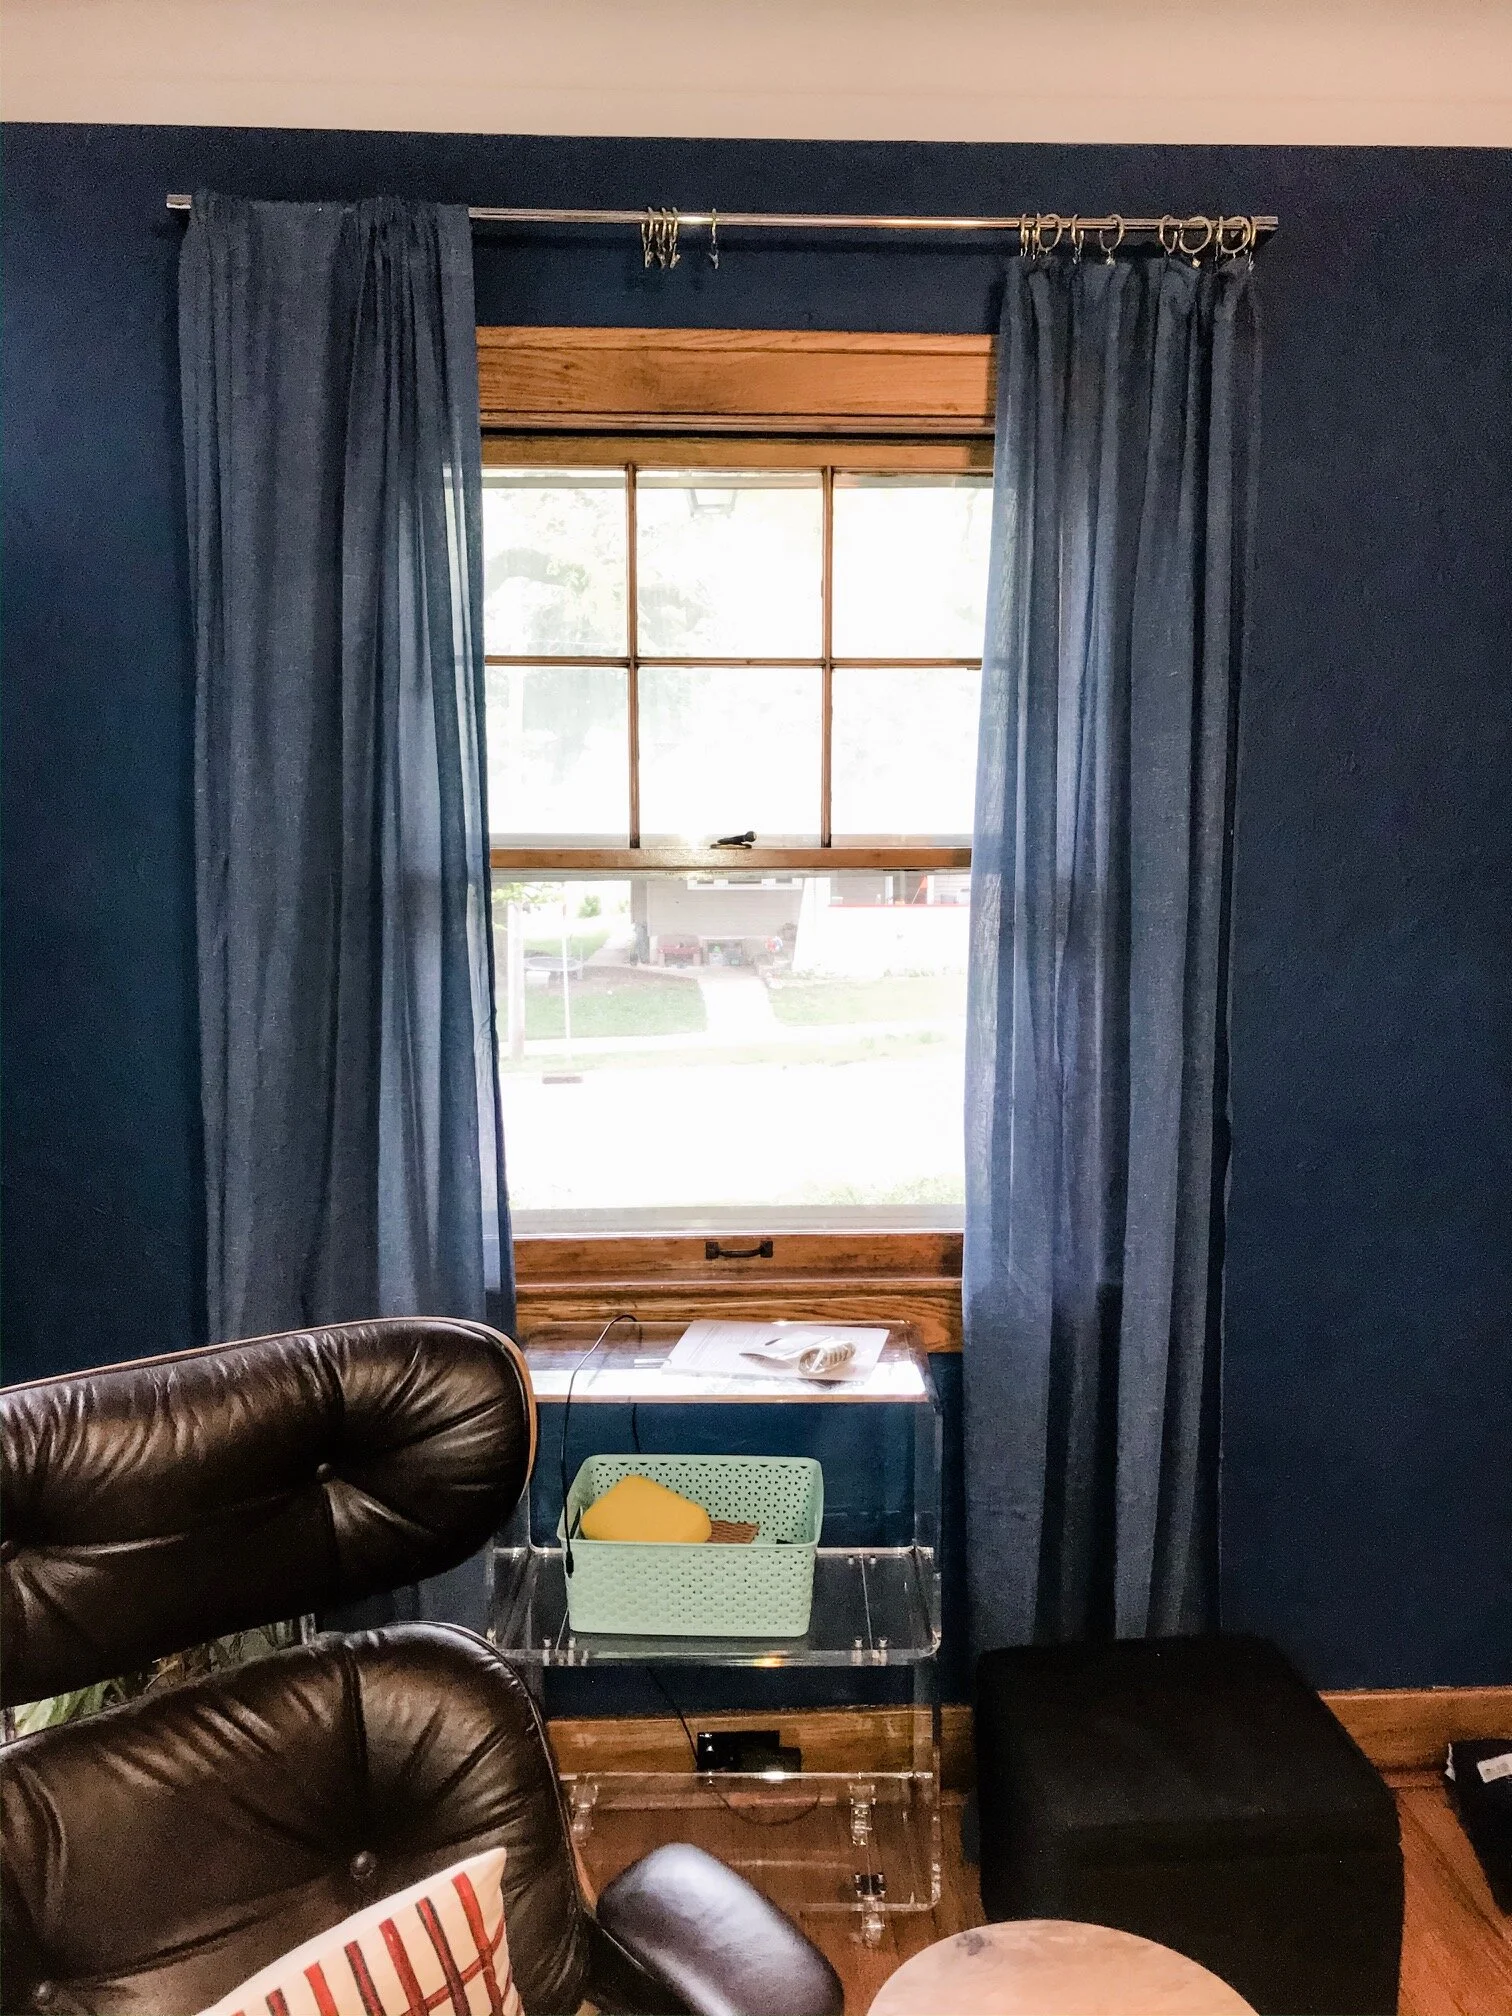
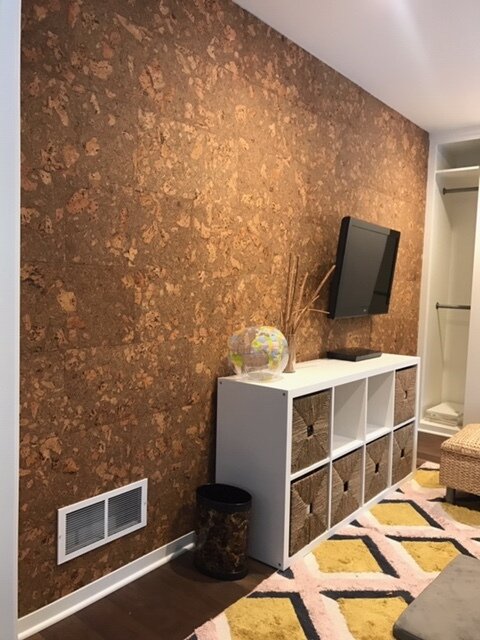
I’ve also got the bottom part of the wall under the chair rail painted with a winning color. (Which is black…what a shocking surprise coming from me, I know.)
I really tried to do something different but I am not cool enough to pull it off.
Originally, when the cabinets were going to be green, I was going to do the lower section a shade of green different than cabinets. But then I changed to yellow cabinets and I definitely didn’t want to do the lower wall yellow.

So I picked out a color from the wallpaper and got some samples with ‘beige’ in the title and thought that I was going to bring back beige.
Newsflash. I will not be bringing back beige. That will have to be someone else’s job. It could’ve worked if the floors were very dark, almost black or a gray. Definitely did not work with my floors.

So I went with what I knew…which conveniently was in my basement, and that was Sherwin Williams Black Magic (the same color as the exterior of our last house).
The color makes my heart happy, which says a little something about the color of my heart. (I got real excited about the addition of the black heart emoji on my phone).
Doesn’t it make you feel better too?
Stay tuned! We have all of this coming up!
Still to do:
Banquette bench installation
upholster bench
paint bench
new windows
Tile over old window location
hang open shelving
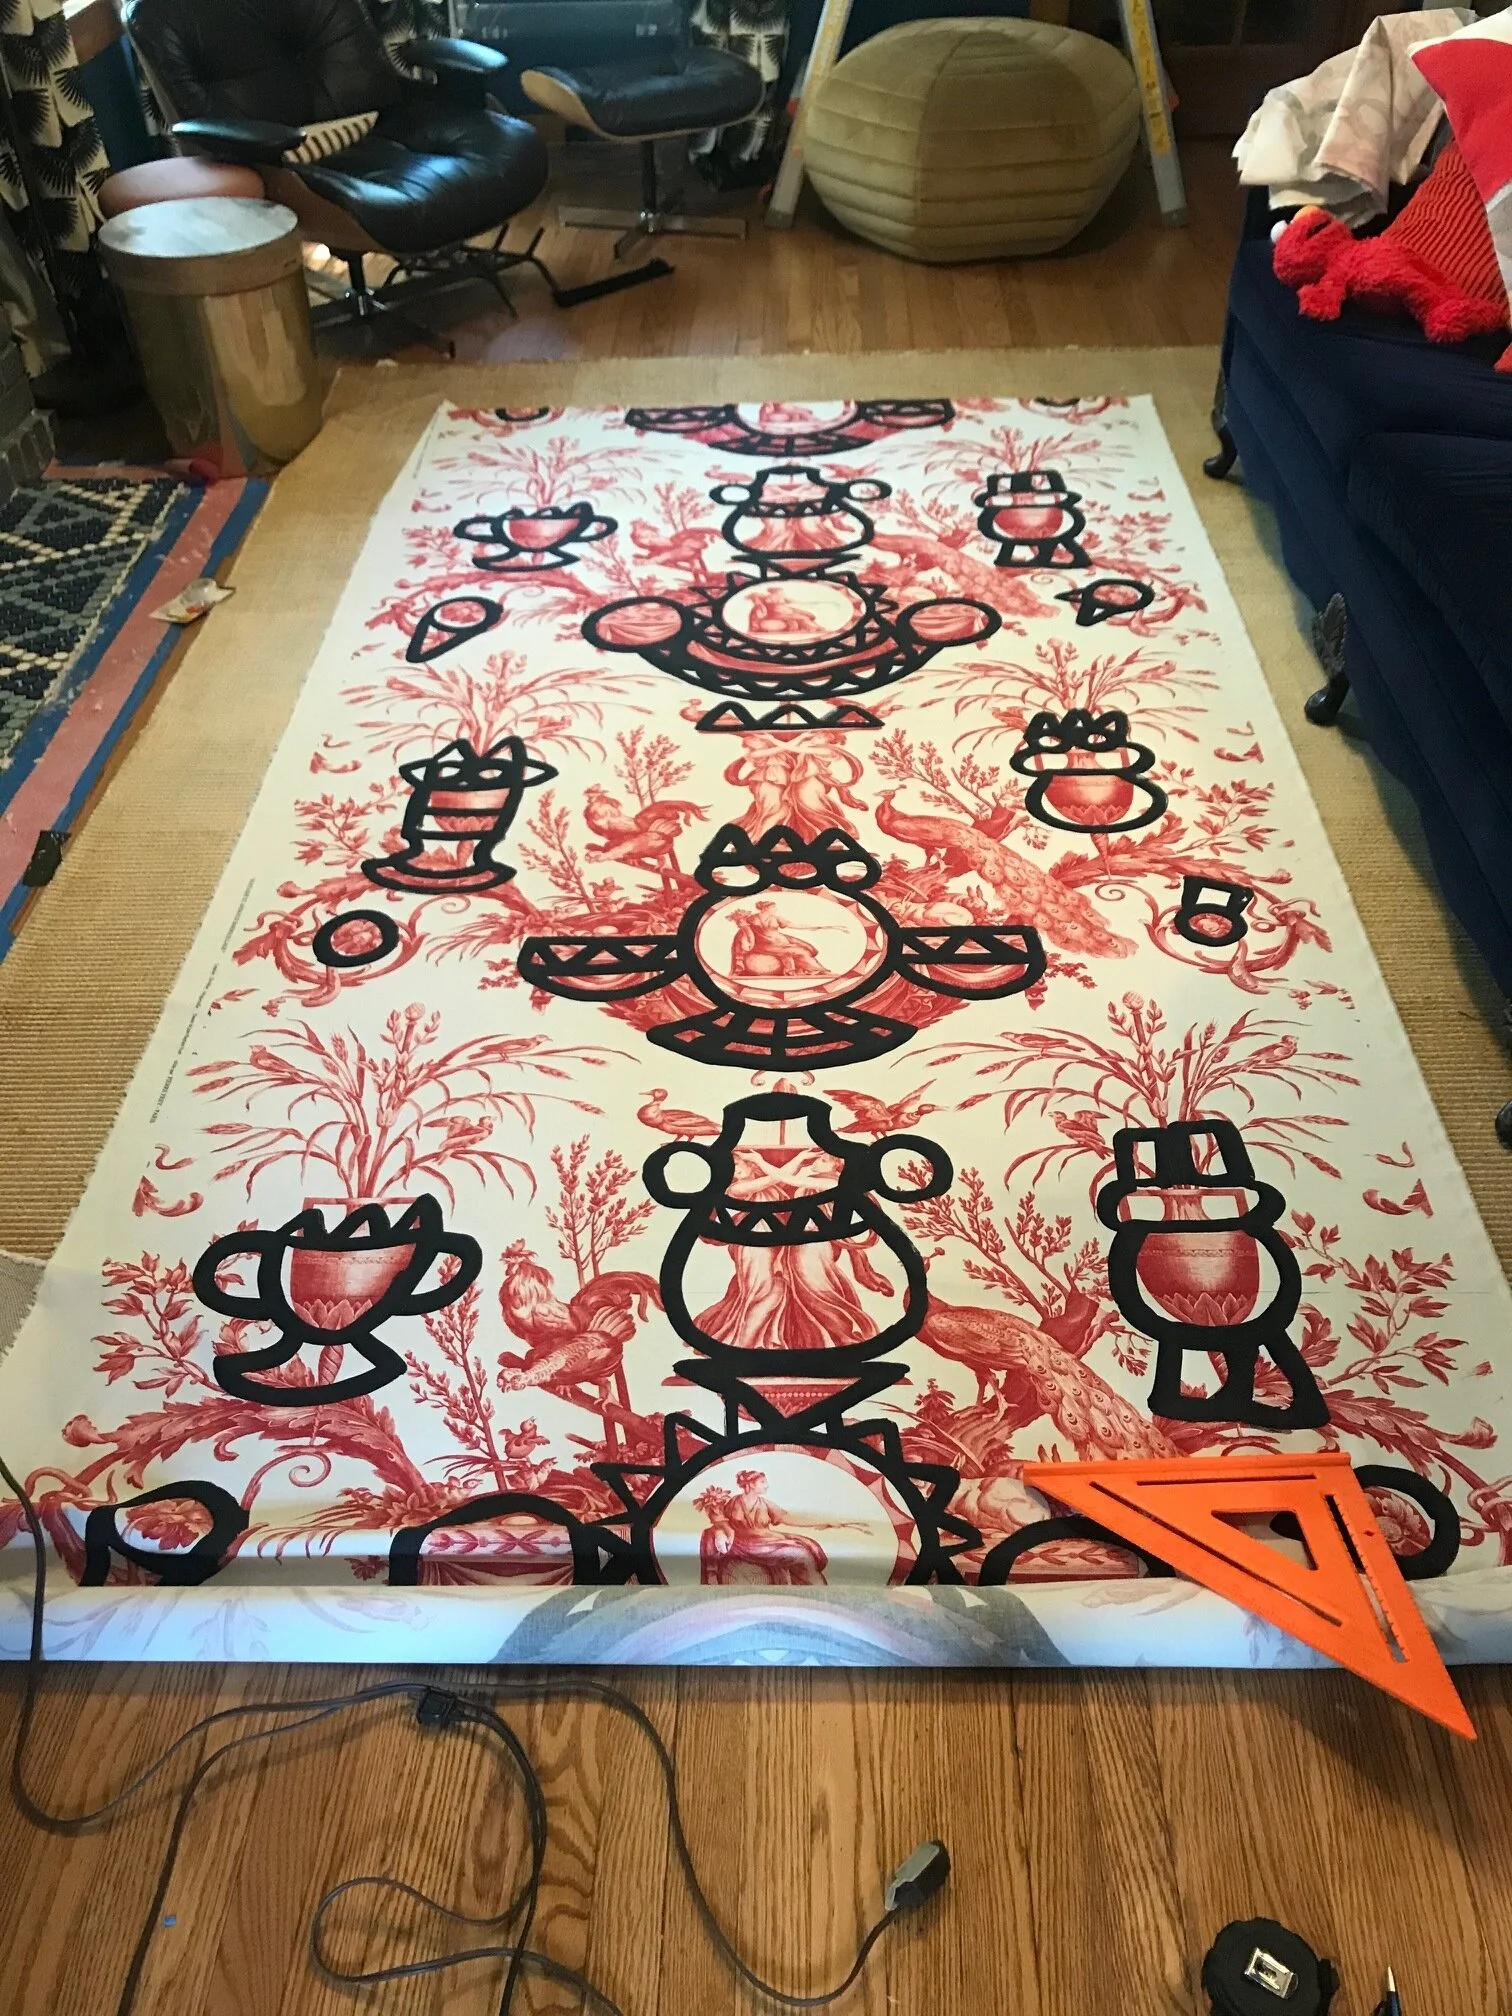
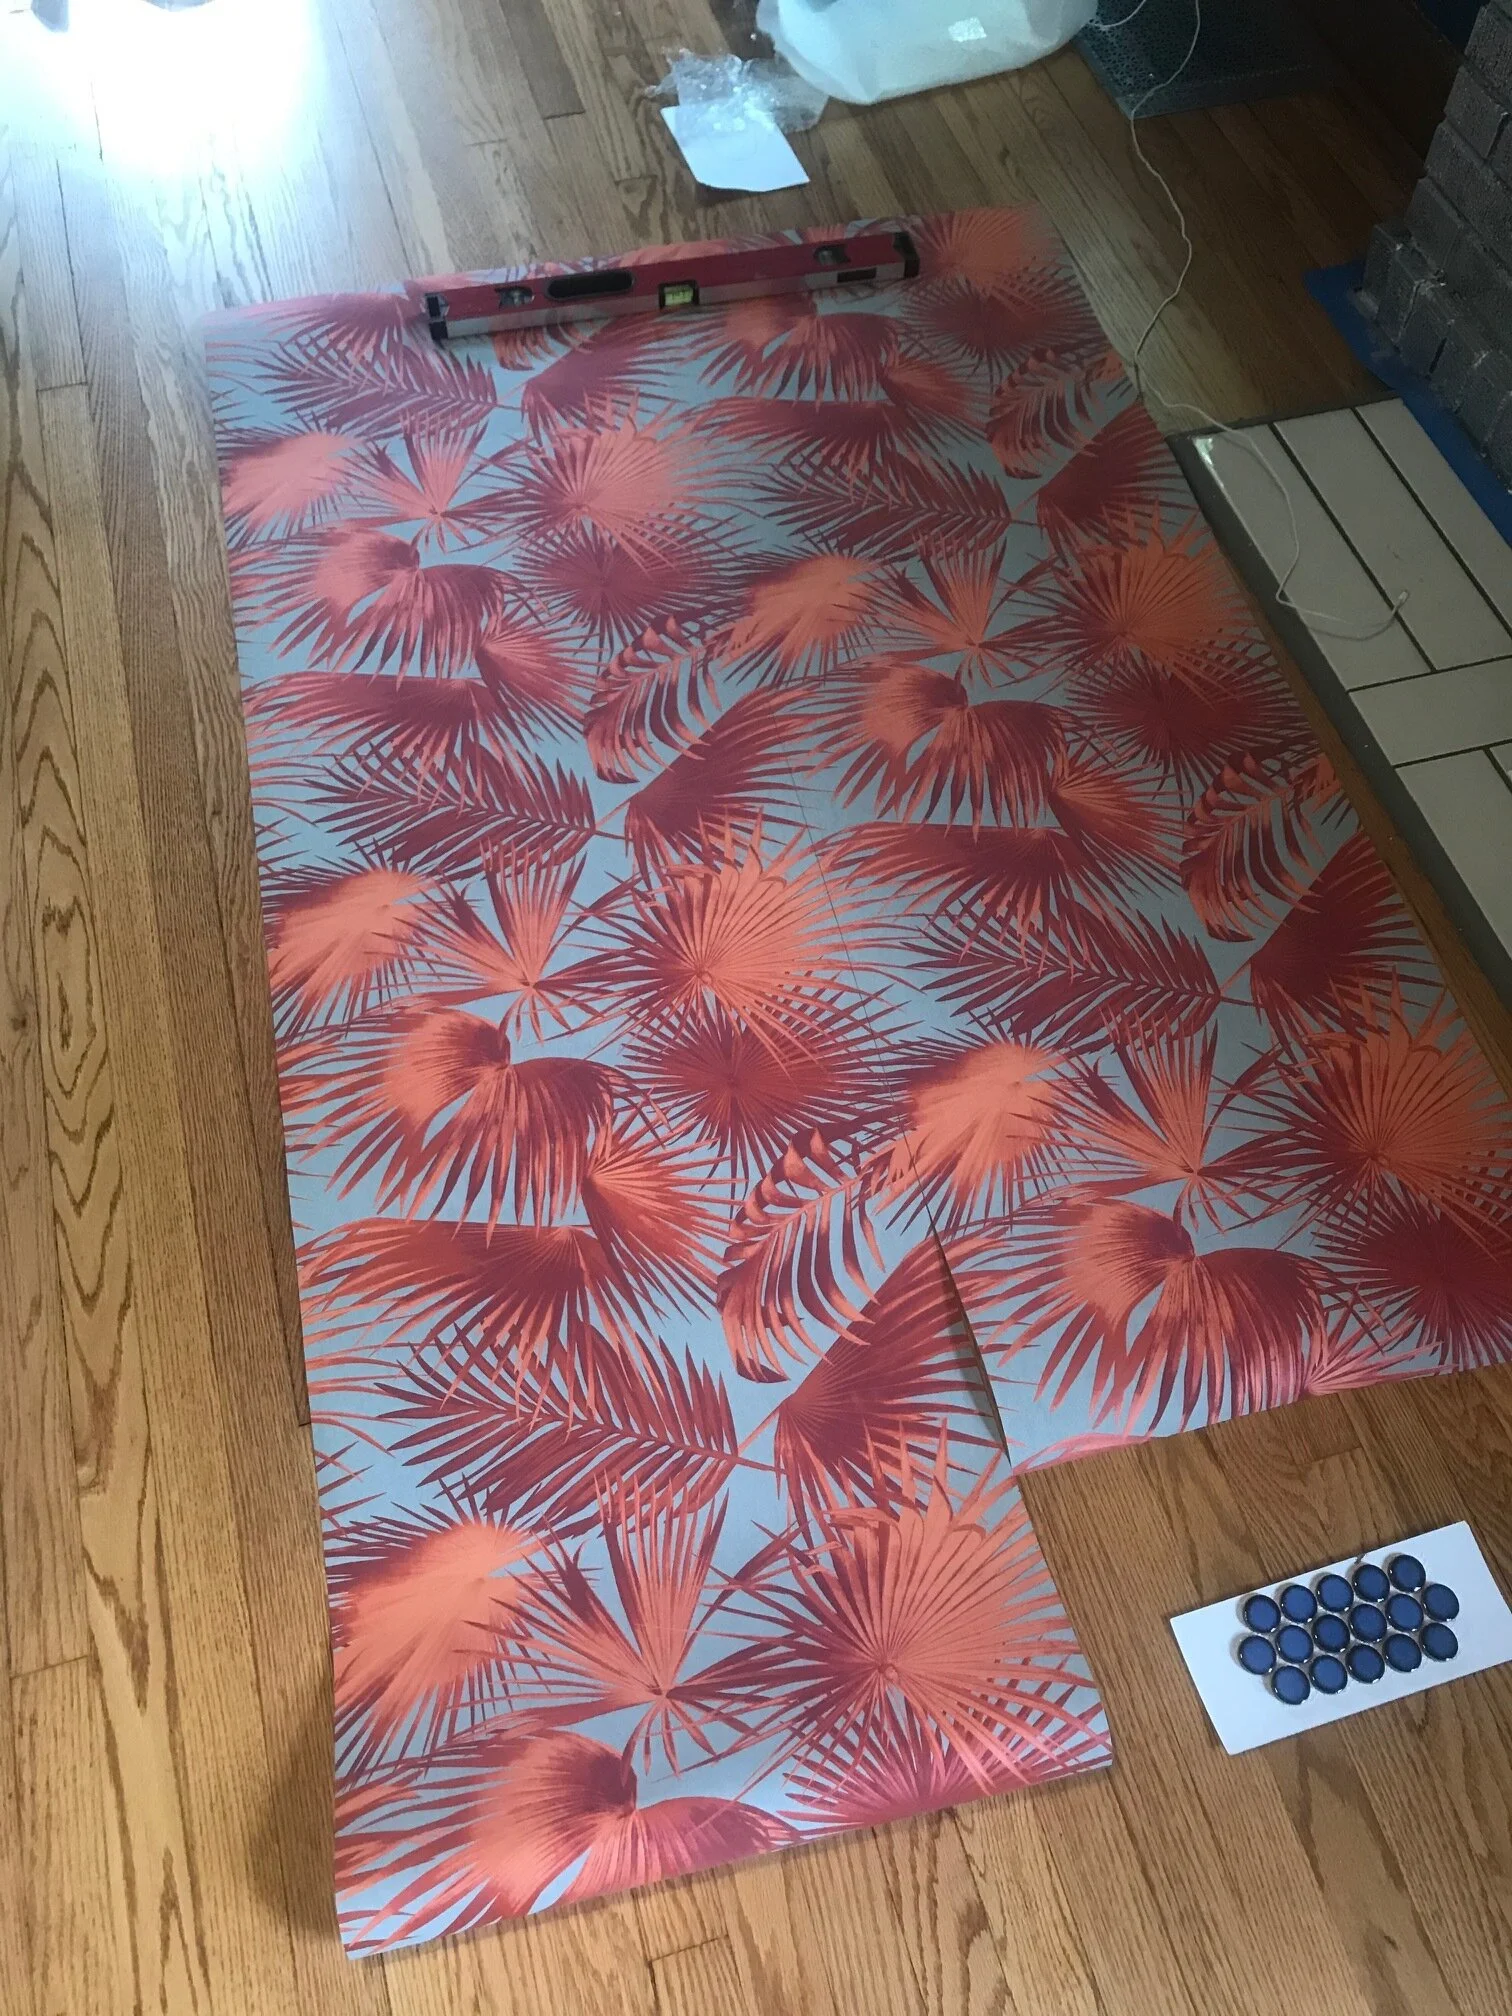
wallpaper.
To follow along with all of the other guest participants doing the One Room Challenge, click here.
The featured designers are doing some pretty cool virtual stuff here!